Wednesday, October 12, 2016

LESSON 15: Project-Based Multimedia Learning

A project based learning method is a comprehensive approach to instruction. Your students participate in projects and practice an interdisciplinary array of skills from math, language arts, fine arts, geography, science, and technology.

"The collaborative nature of the investigation enhances all of these valuable experiences ... as well as promotes a greater appreciation for social responsibility (Scott, 1994)."

                               Resulta ng larawan para sa Project-Based Multimedia Learning

Defining Project-Based Multimedia Learning

It's best to start with some definitions. By project-based learning, we mean a teaching method in which students acquire new knowledge and skills in the course of designing, planning, and producing some product or performance. By multimedia, we mean the integration of media objects such as text, graphics, video, animation, and sound to represent and convey information. Thus, our definition is:

Project-based multimedia learning is a method of teaching in which students acquire new knowledge and skills in the course of designing, planning, and producing a multimedia product.

Your students' multimedia products will be technology-based presentations, such as a computerized slide show, a Web site, or a video. These presentations will include evidence that your students have mastered key concepts and processes you need to teach and will be a source of great pride for them and for you.

Many present day activities focus on developing linguistic competence for example, the ability to use lexics, grammar and phonetics of the language. They also develop the pragmatic abilities of the learners to use the language for real-life communication. The activity of project-based multimedia learning stimulates through process in learners by forcing them to think and make decision.

The purpose of our report is to show the content of the method of project-based multimedia learning, the usage and the implementation it in teaching English process through distance education.

Project-based learning is an old and respected education method. The use of multimedia is a dynamic new form of communication. The merging of project-based learning English and multimedia represents a powerful teaching strategy that is called “project-based multimedia learning”.
Project-based multimedia learning is a method of teaching in which students acquire new knowledge and skills in the course of designing planning and producing a multimedia product.

Project-based multimedia learning has seven key dimensions such as core curriculum, real-world connection, extended time frame, students decision making, collaboration, assessment, multimedia.

Here is a brief explanation of each.

Resulta ng larawan para sa Project-Based Multimedia Learning

Core curriculum. At the foundation of any unit of this type is a clear set of learning goals drawn from whatever curriculum or set of standards is in use. We use the term core to emphasize that project-based multimedia learning should address the basic knowledge and skills all students are expected to acquire.

Real-world connection. Project-based multimedia learning strives to be real. It seeks to connect students’ work with the wider world in which students live.


Extended time frame. A good project is not a one-shot lesson; it extends over a significant period of time. The actual length of a project may vary with the age of the students and the nature of the project.

                                  Resulta ng larawan para sa Project-Based Multimedia Learning

Students decision making. In project-based multimedia learning, students have a say. Teachers look carefully at what decisions have to be made and divide them into “teacher’s” and “students” based on a clear rationale.

Collaboration. We define collaboration as working together jointly to accomplish a common intellectual purpose in a manner superior. Students may work in pairs or in teams of as many as five or six. Whole-class collaborations are also possible. The goal is for each students involved to make a separate contribution to the final work.

Assessment. Regardless of the teaching method used, data must be gathered on what students nave learned. When using project-based multimedia learning, teachers face additional assessment challenges because multimedia products by themselves do not represent a full picture of student learning. Students are gaining content information, becoming better team members, solving problems and making choices about what new information to show in their presentations. We consider assessment to have three different roles in the project-based multimedia context:
-   Activities for developing expectations;
-   Activities for improving the media products;
-   Activities for compiling and disseminating of learning.

Multimedia. In multimedia projects, students do not learn simply by “using’ multimedia produced by others. As students design and research their projects, instead of gathering only written notes, they also gather and create pictures, video clips, recording and other media objects that will serve as the raw material for their final product.
                                         Resulta ng larawan para sa Project-Based Multimedia Learning


What value does the teacher add when she implements project-based multimedia learning? The answer of this question lies in the concept of “value added”. Richard Murnane and Frank Levy (1996) describe three  skills sets students need to be  competitive for today’s job. These are hard skills (math, reading, problem-solving skills , mastered at a much higher level than previously expected of high school graduates); soft skills (the ability to work in a group and to make effective oral and writing presentations); and the ability to use personal computer to carry out routine tasks (for example, word processing, data management and creating the multimedia presentations).

If means that high school graduates need to master a combination of foundation skills and competencies. These  are exactly the soft skills students learn when engaged in project-based multimedia learning.


Resulta ng larawan para sa Project-Based Multimedia Learning

Adding Project-Based Multimedia Learning to Your Teaching Repertoire

Being a teacher is a bit like being a personal trainer. In general, a trainer knows that all clients need a balanced workout. They need to develop muscular strength, flexibility, and aerobic fitness. They also need to adhere to a sound, balanced diet. At the same time, each client will have specific needs or conditions that require accommodation. The workout you design for your client with asthma will be different from the one you create for your client with arthritis.

Likewise, effective teachers employ various teaching methods to achieve a balanced instructional program that is also personalized and reflects the needs and interests of individual students. You know that your students need a balanced diet of academic content and process skills—and workouts that include learning, practicing, analyzing, reflecting, and assessing. You also know that students vary in their comfort with these activities and the amount of support they need.

·                     Honing their planning and organizational skills;Project-based multimedia learning is one instructional strategy that you can use in a school year that may also include non-technical projects, lecture and note-taking, rote practice, writing, and artistic or creative work. During this part of the year, students may be spending less time on rote practice and the breadth of material they cover may be smaller. What they will be doing instead includes:
·                     Learning to present information in compelling ways;
·                     Synthesizing and analyzing complex content and data;
·                     Practicing research and technical skills; and
·                     Learning how academic subject matter applies to the real world.

Further, the motivational character keeps students engaged, giving you the freedom to support individual students—far better than when every moment of instruction depends on you alone.


                            Resulta ng larawan para sa Project-Based Multimedia Learning


LESSON 14: The Chalkboard

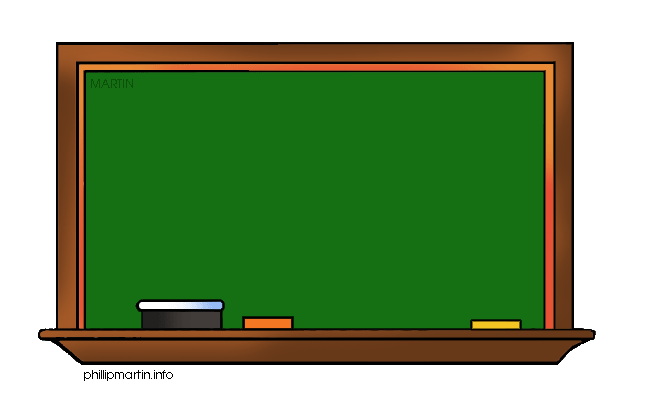
Except in extremely deprived classrooms, every classroom has a chalkboard. In fact, a school may have no computer, radio, TV, etc. but it will always have a chalkboard.
Following Practices of using Chalkboard
1.     Write clearly and legibly on the board.
2.     It helps if you have a hard copy of your chalkboard diagram or outline.
3.     Don’t crowd your notes on the board.
4.     Make use colored chalk to highlight key points.
5.     Do not turn your back to your class while you write on the chalkboard
6. For the sake of order and clarity, start to write from the left side of   the board going right.
7.If you teach the Grades and you think the lines on the chalkboard are needed for writing exercises.
8.Look at your board work from all corners of the room to test if the pupils from all sides of the room can read your board work.
9.If there is glare on the chalkboard at certain times of the day , a curtain on the window may solve the problem.
10.Make full use of the chalkboard.

              Resulta ng larawan para sa THE chalkboard

CHALKBOARD TECHNIQUES
ü Sharpen your chalk to get good line quality.
ü Use dots “aiming points “. This keeps writing level.
ü Make all writing or printing between 2 or 4 inches high for legibility.
ü Stand with your elbow high, move along as you write.
ü When using colored chalk, use soft chalk so that it can be erased easily.Resulta ng larawan para sa THE chalkboard

PROJECTOR
A projector is a device that uses light and lenses to take an image and project a magnified image onto a larger screen or wall.
The LCD Projector
LCD (Liquid Crystal Display) is a thin , flat panel used for electronically displaying information such as text, images and moving picture. Its uses include monitor for Computers, Televisions , Instrument panels Gaming devices etc. Using polarization of lights to display objects.
Gene Dolgoff – is credited with developing the LCD projector.
To display images, LCD (liquid-crystal display) projectors typically send light from a metal-halide lamp through a prism or series of dichroic filters that separates light to three polysilicon panels.
As polarized light passes through the panels (combination of polarizer, LCD panel and analyzer), individual pixels can be opened to allow light to pass or closed to block the light.
The LED Projector
Instead of a traditional halogen lamp, they use (light-emitting diodes), which are more environmentally friendly and longer lasting. LED projectors use either DLP technology, replacing the color wheel and white-light lamp with red, blue, and green LEDS, or LCoS technology, which is found in handheld projectors.
Light-emitting diode projectors represent a significant advance over traditional projectors. Instead of using a bulb filled with gas at high pressure, they use an array of LEDs to generate the light that shines through, the image element to project an image.


                         Resulta ng larawan para sa THE chalkboard


ADVANTAGES OF USING PROJECTOR 
·        Largest possible picture
·        Smaller images a great option also
·        Low cost
·        Space saving
·        Easy to install

LIMITATIONS IN USING PROJECTOR
·        Dark room often required
·        Maintenance required
·        Installation can be more   involved  Separate audio system require

        Resulta ng larawan para sa THE chalkboard


LESSON 12: The power of film, video and TV in the classroom.

On average, children watch over twenty-five hours of television per week. This alarming statistic is not surprising, especially to educators who often compete with television for the students' time and attention. Granted, Christian educators must battle the negative effects of this medium. However, they should also recognize its positive effects and enlist videos as an imposing ally in the cause of Christian education.

Films are powerful communicators because a person remembers five times more of what he hears and sees (as opposed to what he only hears). The visual element gives the motion picture its special impact; and the bigger the image, the greater the impact. Yet the visual element is often neglected when people show videos. The VHS video format provides a convenient and economical means for distribution, but the effectiveness of video depends greatly on how it is used. Each viewer must be able to hear and see the video in order for it to communicate.

                      Resulta ng larawan para sa The power of film, video and TV in the classroom.


 Limitations:

But as with any tools, they must be used skillfully. Too often, instructors fail to explore the full potential of video and film. They show movies to avoid an onerous lecture or to fill up time when a faculty member must miss class. The tendency is to turn off the lights and turn on a video—so-called teaching, but without a challenging lesson plan to engage students in active analysis and interpretation. Such "video babysitting" is the reason why the use of film and video in the classroom is often rightfully criticized.

Students' reaction to the use of film and video can also be an obstacle. Today's students have been trained since infancy to sit passively in front of the television set, causing them to tend to take in entertainment movies, instructional videos, and documentaries alike without contemplation or questioning of the images and ideas being presented. Such conditioning, combined with the reputation of video babysitting, can cause students to assume that courses that extensively use visual media are intended to be easy. This reaction can make for a self-fulfilling prophesy, with students collectively inferring that because little effort is expected, then little effort is what they put out.

                        Resulta ng larawan para sa The power of film, video and TV in the classroom.

Benefits:

Film and video have long been advocated as powerful adjuncts to classroom instruction.  The combination of moving images and multiple sound tracks offers instructional designers a powerful medium for crafting mutually reinforcing explications of concepts while providing learners with content that engages multiple senses.  Video has been particularly important in distance education with more than half of all distance education programs in 1995 using some form of video content (National Center for Education Statistics, 1999).  Digital video adds possibilities for making learning interactive and this interaction has been powerfully leveraged for more than a decade in videodisc-based projects such as the Jasper series that actively ‘anchored’ learners in adventures that give rise to ‘authentic’ problem solving situations (Cognition and Technology Group at Vanderbilt, 1997). The Internet offers significant new possibilities for delivering video even more broadly and easily in both traditional and distance education venues.  Thus, educators at all levels have yet another opportunity to incorporate audiovisual and interactive materials in their classrooms.
Using good videos in this way will not only turn the students' TV viewing toward achieving productive goals, but it will also teach them to apply the "Replacement Principle." Beyond simply removing negative viewing habits, students are learning to replace them with positive alternatives. Just as an appreciation for good music or literature must be developed, the skills to select good videos must also be taught.

                         Resulta ng larawan para sa The power of film, video and TV in the classroom.


RULES TO FOLLOW

When showing videos authorized for public performance to a group:
·         Determine the image size needed for your audience with this "Rule of Thumb": the number of viewers should not exceed the diagonal inches of the screen. For example, a 25" monitor can be comfortably viewed by up to 25 people.
·         Additional monitors can be connected together to accommodate larger groups.
·         If an LCD video projector is used, the room will need to be darkened and the sound should be set up to come from the front near the screen.

Encouraging Student Analysis and Interpretation

                              Resulta ng larawan para sa The power of film, video and TV in the classroom.

How can faculty members get students to interact with the film or video they are showing?
·         Have students make notes on the film while they are watching it and then turn them in to make sure they are engaging with the film to some extent.
·         Other instructors suggest giving a quiz immediately after the film or assigning an in-class writing exercise that asks what the main point of the video was. How well and through what narrative or visual aspects did the filmmakers demonstrate their themes?
·         Instructors can focus class discussion and analysis on specific scenes, or on structure of the narrative rather than having students construct an overly generalized film review.

How can a teacher make available videos that provide a positive alternative?
·         He can develop a list of recommended videos or establish a lending library of videos that have been previewed.

·         Schools and churches can make videos a part of their regular libraries, providing both an educational resource and an outreach ministry to families. This ministry leads to yet another benefit from incorporating home videos into your teaching: helping students who come from families that may have special spiritual needs or even unsaved loved ones.

                         Resulta ng larawan para sa The power of film, video and TV in the classroom.

LESSON 11: FIELD TRIP


"Field trips offer an excellent
 bridge between the work of the
 school and the work of the work out side.
Field trips abolish the “walls” that divides the classroom and the outside world. Field trip also connects people; all people involved in the field trip – students, teacher, parents, and school head – come together for joint planning.


Field trips can be fun and educational when they are well-executed. Some of the educational benefits are the following;


1.The acquisition of lasting concepts and changes in attitudes are rooted on concrete and rich experiences.
2. Field trips brings us to the world beyond the classroom.
3. Field trips have a wide range of application.
4. It can bring a lot of realizations which lead to changes in attitudes and insights.

These educational benefits can compensate for the drawbacks of field trips;

1. It is costly
2. It involves
3. It is extravagant
4.Contains an element of uncertainly.


 Planning a field trip includes these steps;

1.  Preliminary planning by the teacher
2. Pre-planning with others going on the trip
3.  Taking the field trip itself
4. Post-field trip follow-up activities.


 Community resources like historical and scenic spots, museums, zoos, botanical gardens, places of exhibits can be destinations for a field trip.

Thursday, September 1, 2016

Lesson 10

 Demonstrations in Teaching

Resulta ng larawan para sa Demonstrations in Teaching image

A demonstration is a teaching method used with both large and small groups. Demonstrations become more effective when verbalization accompanies them. For example, in a half demonstration-half lecture, an explanation accompanies the actions performed. It is a generally accepted learning theory that the greater the degree of active participation and sensory involvement by the learner, the more effective learning will be.

Advantages (Newby, Stepich, Lehman, & Russell, 1996, p. 48)

Demonstrations....
·         Utilize several senses; students can see, hear, and possibly experience an actual event
·         Stimulate interest
·         Present ideas and concepts more clearly
·         Provide direct experiences
·         Reinforce learning

Disadvantages (Kozma, Belle, Williams, 1978, p. 343)

Demonstrations...
·         May fail
·         May limit participation
·         May limit audience/client input
·         Require pre-preparation

Tips: (Chernoff, 1994, p. 17-20)
1. Know your audience
·         How much experience or knowledge do they have?
·         Are you teaching them a new technique or sharing basic information?
2. Set your objectives
·                     Review your lesson plan for your objectives.
·                     What do you expect the learner to be able to do following your demonstration?

3. Plan your preparation time
·                     Plan for the time it takes to shop for groceries and to prepare props
·                     Make a list of ingredients, utensils, or props needed
·                     Test equipment, recipes, methods etc. ahead of time

4. Plan your recipes/activities
·         Choose uncomplicated recipes with few ingredients
·         Consider the amount of pre-preparation required
·         Be aware of the cost of ingredients
·         Do you need a full recipe? How long does it take?
·         Do you need to prepare a recipe in advance?
·         Practice recipe or activity
Source:  Training Curriculum, Family Nutrition Program, Purdue University
Cooperative Extension, 2001.
5. Involve your audience/client
·         Ask for a volunteer to stir, chop, and assist with other preparation
·         Involve the audience in activities or demonstrations where possible
6. Be prepared for various room arrangements
·         Do you need an electric skillet? Burner? Extension Cord?
·         You may need to be flexible, go prepared for a variety of settings
·         Exclude distractions (close the door, turn off the radio/TV)
7. Help your audience/client to see what you are doing
·         Use trays and clear containers
·         Arrange the room so everyone can see (If a large group, may need to be in a semicircle.)
·         Face your audience as much as possible
8. Provide handouts to support what you say
·         Typed copies of recipes used
·         Review the key points of the demonstration
9. Be organized
·         Have everything for one recipe on a single tray
·         Place ingredients in a logical order and label (name, quantity)
·         Work in one direction
·         Dovetail various tasks
·         Plan for serving procedure & clean up (serving utensils, dish cloths, waste containers, etc.)
10. Follow food safety precautions
·         Remind participants to wash hands before handling food
·         Keep foods out of the Danger Zone
      Demonstrations are an effective method for teaching concepts and problem-solving procedures. A good demonstration should lead to increased attentiveness, learning, and performance.

Resulta ng larawan para sa Demonstrations in Teaching image Resulta ng larawan para sa Demonstrations in Teaching image

Resulta ng larawan para sa Demonstrations in Teaching image  Resulta ng larawan para sa Demonstrations in Teaching image

Lesson 9

TEACHING WITH DRAMATIZED EXPERIENCES

Resulta ng larawan para sa TEACHING WITH DRAMATIZED EXPERIENCES image


Dramatic- is something that is stirring or affecting or moving
Formal dramatized Experience
A.) Plays- Depict life, character, or culture or a combination of all three.
B.)Pageants- Usually community dramas that are based on local history, presented by local actors.
Less formal Dramatized experience
a.)Pantomime- Is the art of conveying a story through bodily movements only.
b.) Tableau-(French word means picture) is a picture- like scene composed of people against a background.
c.) Puppets- Unlike regular stage play, it can present ideas with extreme simplicity, without elaborate scenery or costume yet effective.
-an inanimate object, constructed of wood, cloth, plastic, cardboard.
Types of Puppet

1.)The marionette- are generally fashioned from wood and resemble a human body.

Resulta ng larawan para sa the marionette image        Resulta ng larawan para sa the marionette image


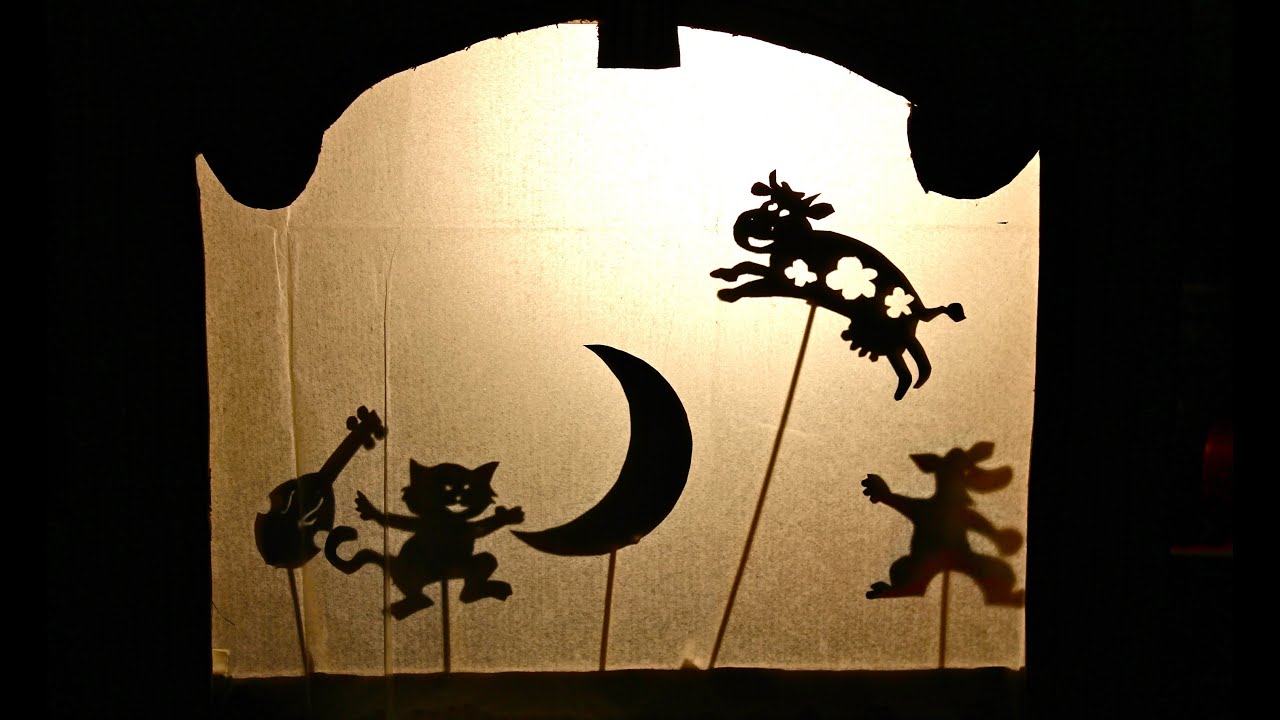
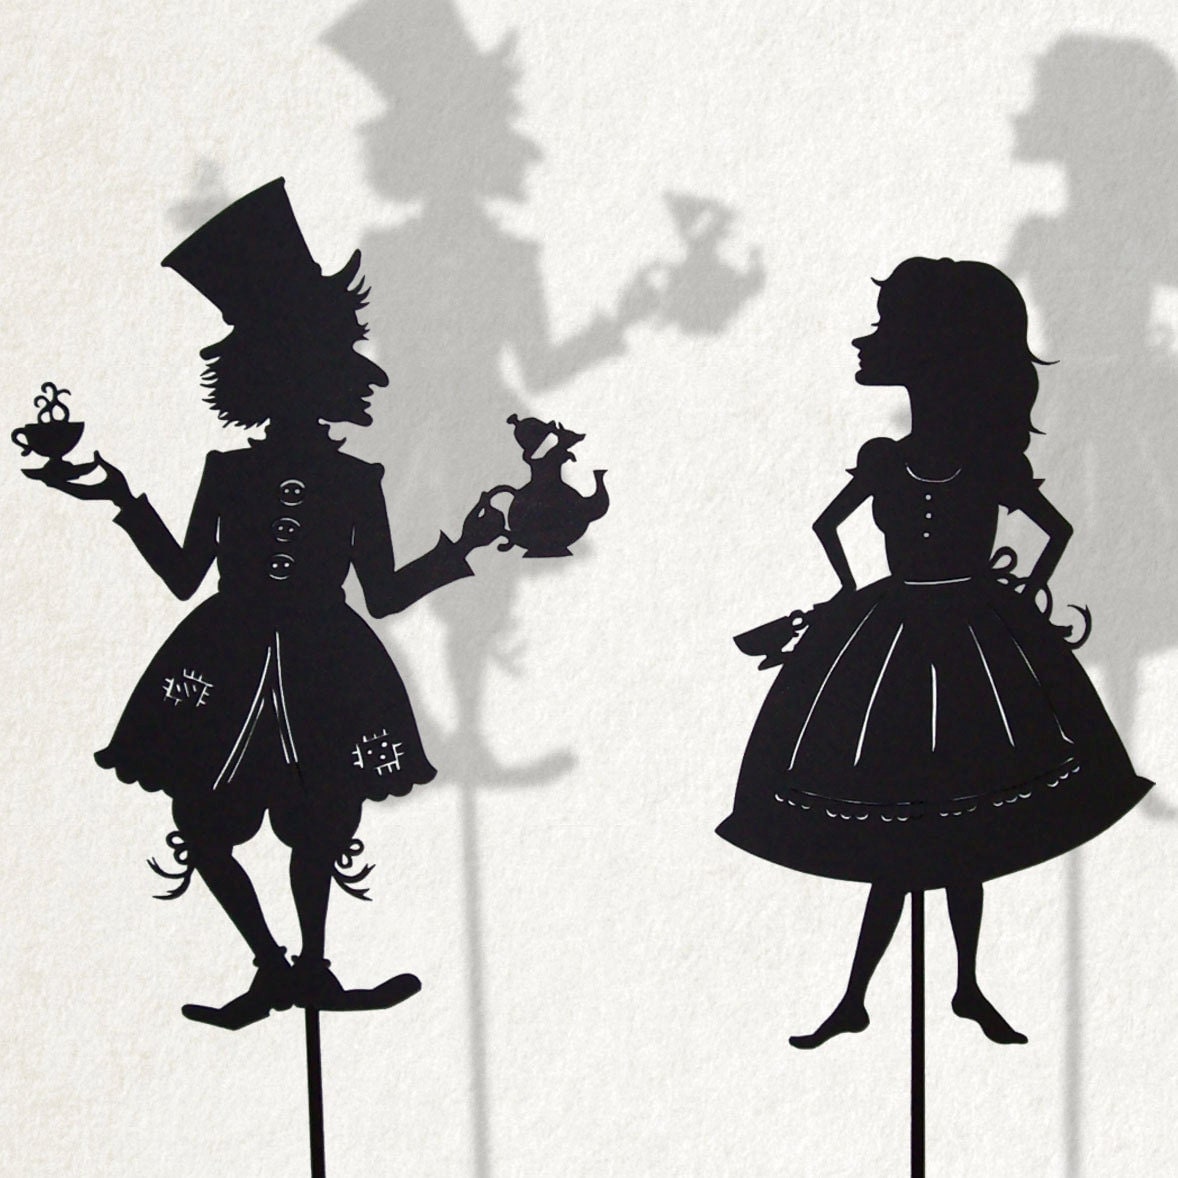
2.) Shadow puppets- similar to the marionette, but less sophisticated, is the shadow puppet are generally flat characters created from heavy paper or cardboard.
Resulta ng larawan para sa shadow puppet image             Resulta ng larawan para sa shadow puppet image

3.) Stick puppets- as simple as a Styrofoam ball head attached to a stick, or two-dimensional picture attached to a stick.
 Resulta ng larawan para sa stick puppet image    Resulta ng larawan para sa stick puppet image  Resulta ng larawan para sa stick puppet image

4.) Hand puppet- most common type of puppet they are relatively simple to create.
Resulta ng larawan para sa hand puppet image           Resulta ng larawan para sa hand puppet image            Resulta ng larawan para sa hand puppet image

5.) Mouth puppet- are distinguished from other puppets in that they have movable mouths, thus allowing the puppets to talk more realistically.
Resulta ng larawan para sa mouthpuppet image        Resulta ng larawan para sa mouthpuppet image

6.) Rod puppets- flat cut out figures tacked to a stick, with one or more movable parts, and operated from below the stage level wire rods or slender stick.
Resulta ng larawan para sa rod puppet image    Resulta ng larawan para sa rod puppet image


7.) Glove-and- finger puppets- make used of old gloves to which small costumed figure are attached.

Resulta ng larawan para sa glove and finger puppet  image     Resulta ng larawan para sa glove and finger puppet  image 
Resulta ng larawan para sa glove and finger puppet  image               Resulta ng larawan para sa glove and finger puppet  image